Well it's Christmas holidays at last! And you know what that means, crafting, baking, and of course finally updating my blog after almost a month of silence. Yes that also means possibly getting to see some pictures of my vacation over the summer, as well as some of the furniture I have painted and complete not to mention the crafts I have finally finished in recent days. As for all the crafts you get to have a look at them today. Though I have a feeling this post might take me all day to write cause I will be gathering pictures and organizing and just trying to get things done.
Being as glad as am to be done school for the semester,Since Thursday I have been going crazy getting a bunch of different things done. I started by cleaning my whole room, throwing out old boxes from different items I own (I did however regret this afterward since I could have used them to wrap my gifts), as well as moved in everything I took home from the holidays. This happens to be quite the task since, as everyone knows, I constantly pack an absolute ton. I have since also made myself busy by taking a Christmas shopping trip to the states, as well as several to Sarnia, and then wrapping the many gifts I bought, not to mention the gifts everyone else bought. I have also finished two crafts that have been waiting quite some time to even be started. Overall I have kept myself extremely busy hoping to accomplish much before the super busy holiday celebrations begin.
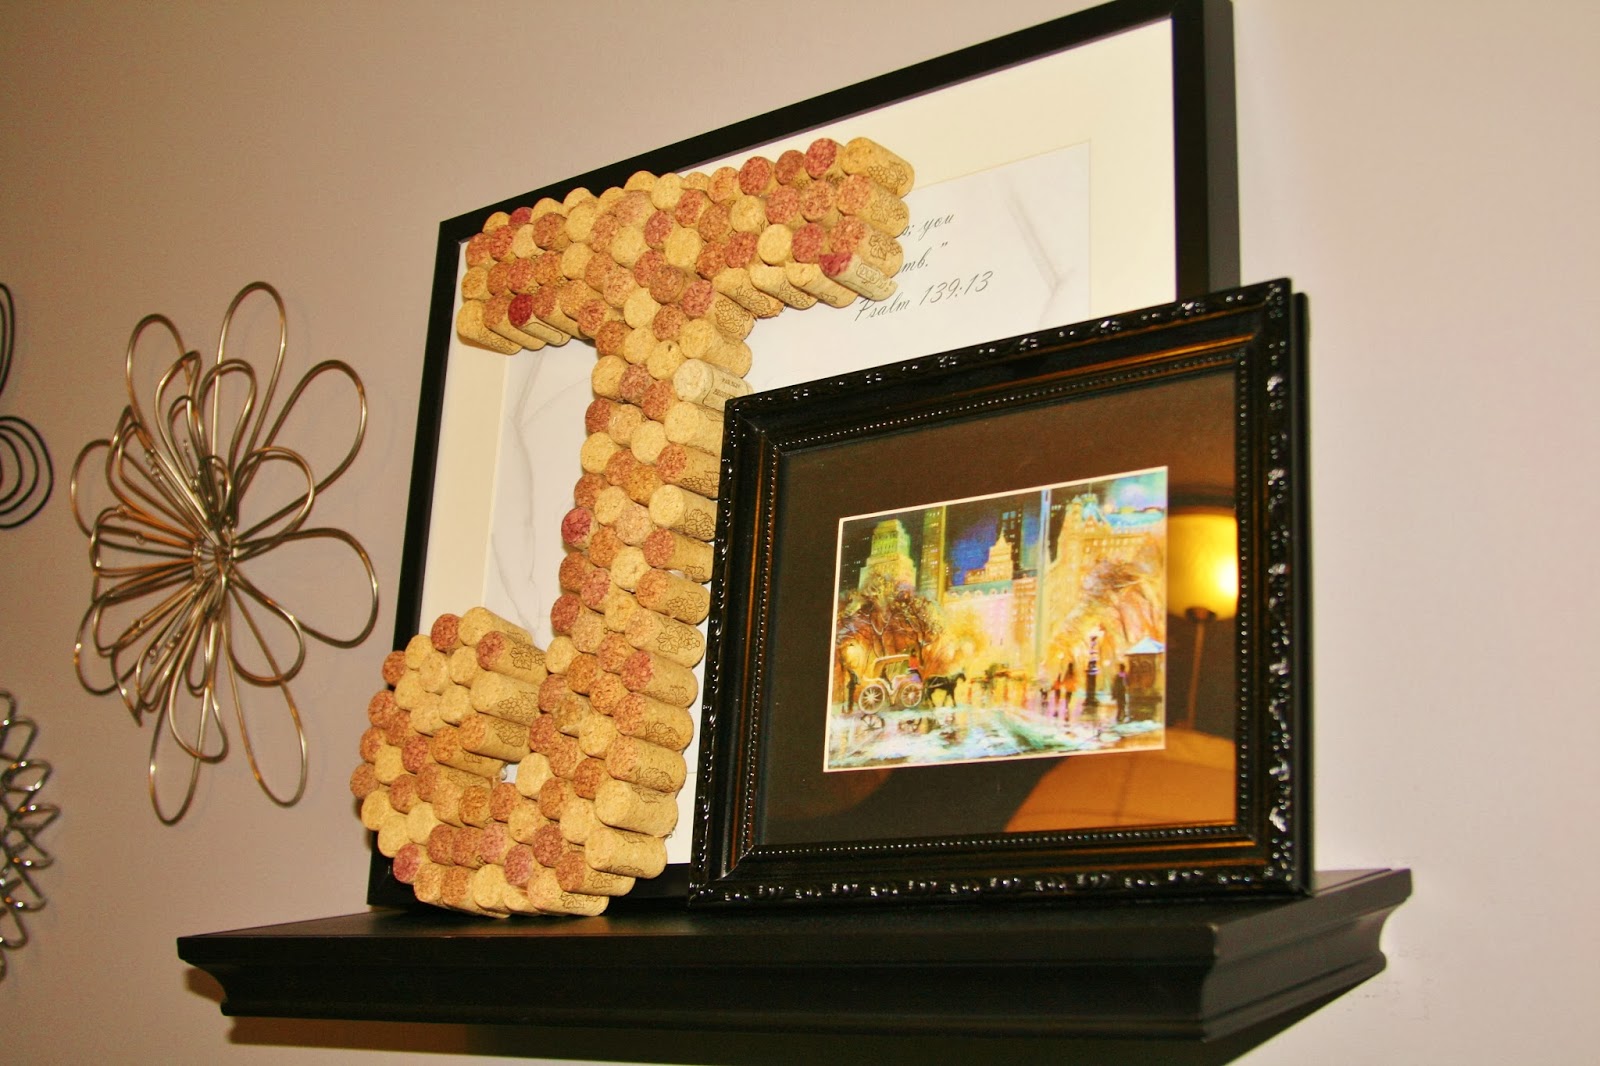
My first project this holiday was a cork letter. I was browsing through a Good will store in Sarnia and I found a bunch of large ziploc bags full of corks. After the lady saw me pick every single one of them up, she offered me a box full instead. I purchased them for five dollars hoping to get a lot of different crafts out of them. According to online tutorials the best way to create these cork letters is to buy or create the shape out of wood and then use this to glue the corks to. Me being the cheapy that I am, I simply cut a piece of cardboard in the shape of a J. This provided me with a stiff surface to glue to without adding to the costs of the project. I then slowly arranged an glued my corks down, finishing off by cutting a bunch in half to fill in some spaces and even out the sides. Here's my results!

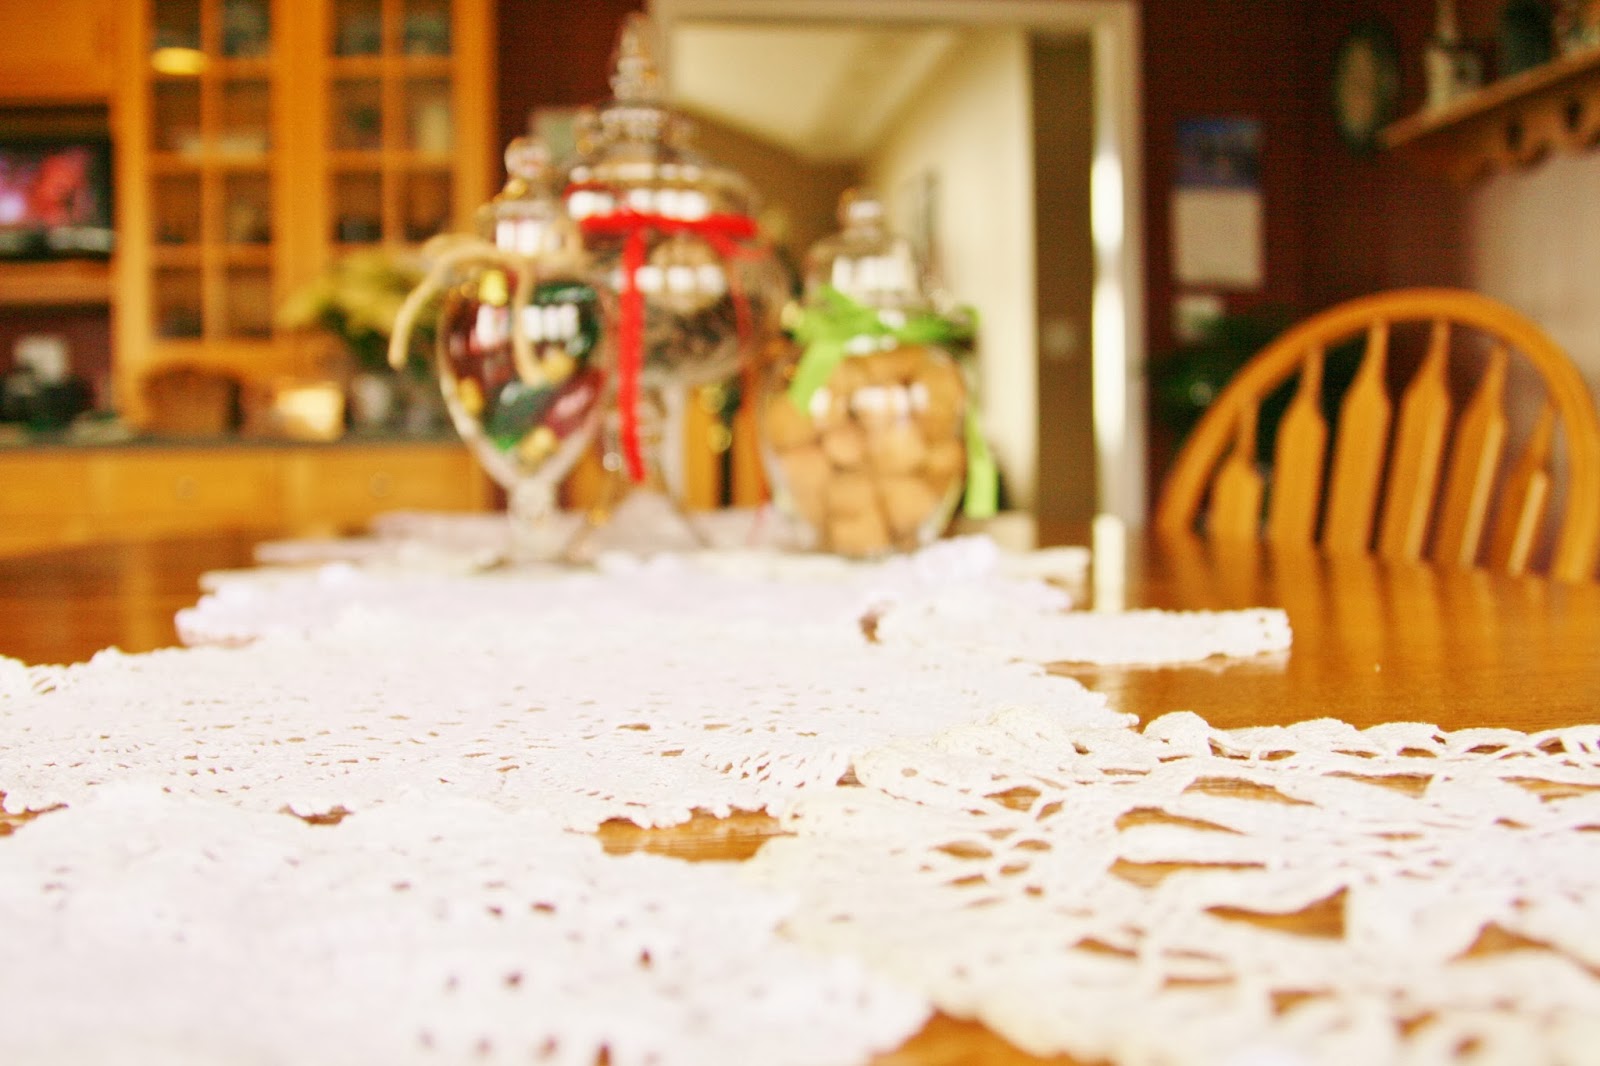
The next project I finished was one I have had the supplies for for months. I originally started collecting different size and shaped doily's from garage sales a year or so ago in order that I might make a doily lamp (not sure what I'm talking about? Just look it up on Pinterest and I'm sure you'll understand). Unfortunately I never got around to this and my doily collection continued to grow and grow. As I was contemplating how to complte my first doily craft I cam upon a second, which is the one I choose to finish on Saturday. This doily tanle runner was very easy to complete, it just took a little bit of time. The first step is to layout the runner placing the largest doily's first. Once you have done this and are happy with your arrangement, simply sew the different pieces together. I made sure that mine was sewed in a bunch of different places for each connecting piece just to make sure that they would not break or fall apart once I picked them up. I received my how to from this photography blog Under the Sycamore; check it out for some more thorough instructions. Here's my result!


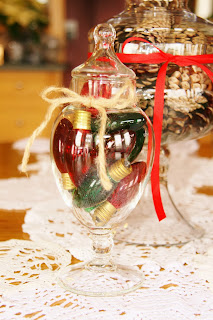
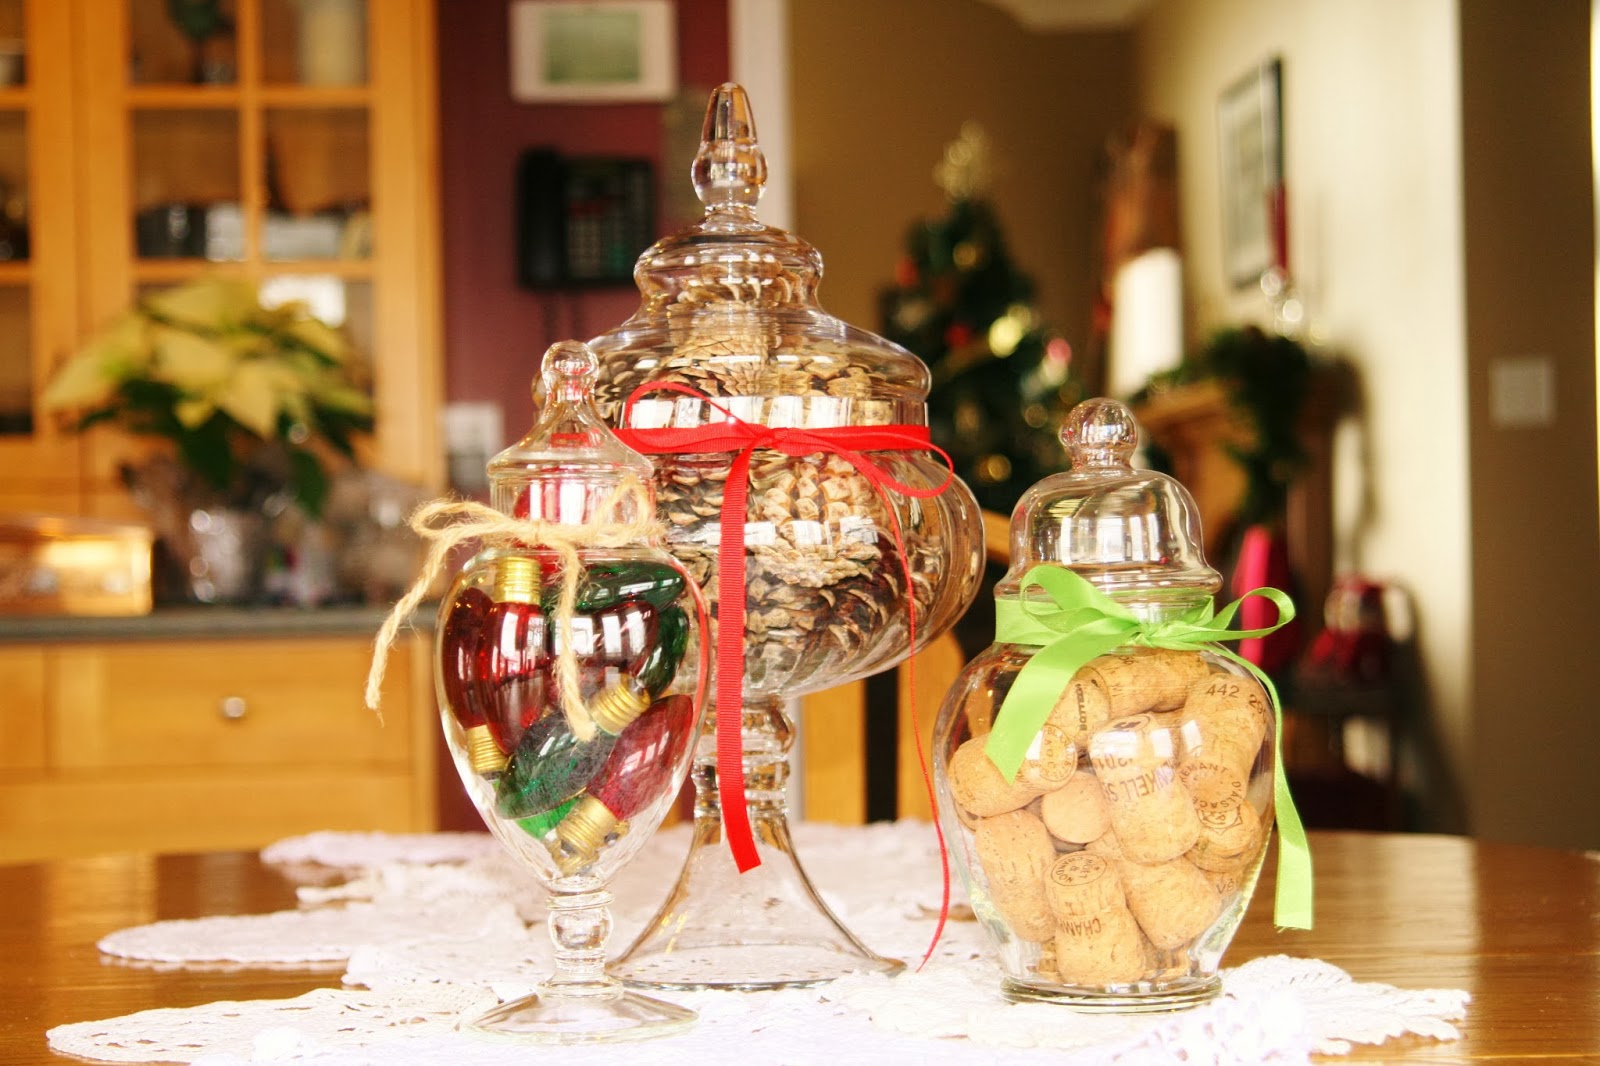
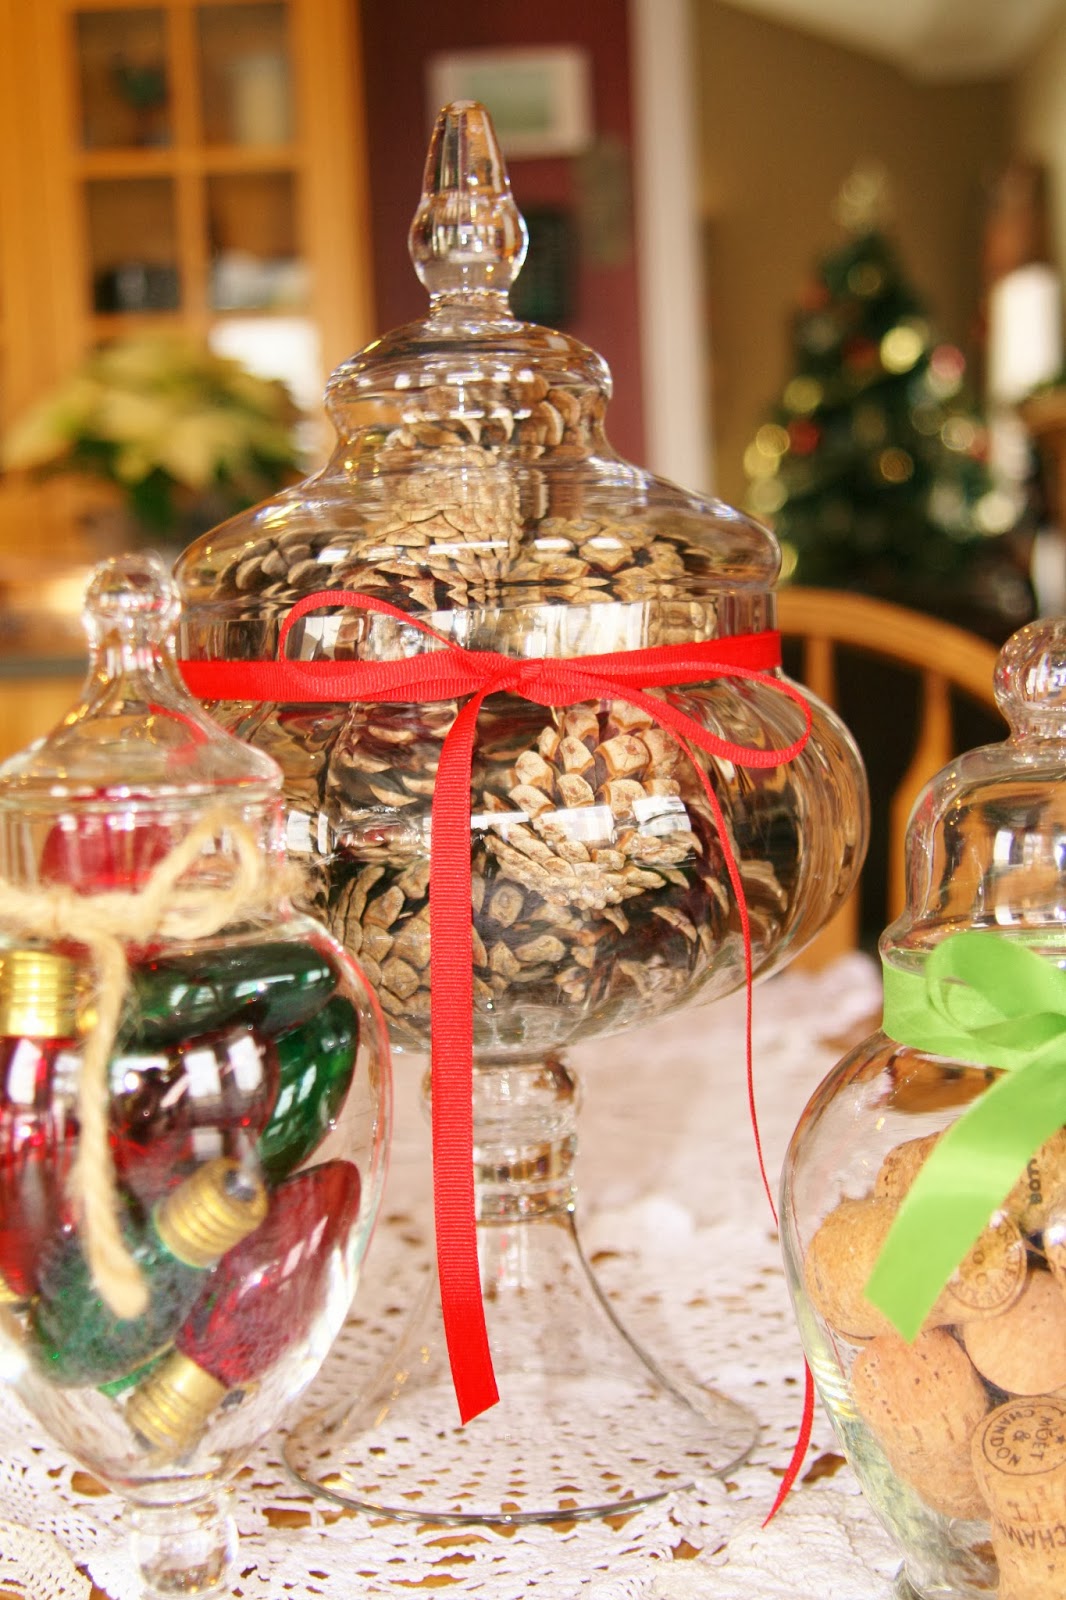
And f course (as you can see) I also felt a need to add a few Christmas decorations to my table to help model my doily table runner. I found these jars at winners as well as a couple of different thrift stores (I see more and more every time). If you buy them used they tend to be quite cheap.my large did however only cost $10.00 new. To fill the first I simply trudged outside (we may not have much snow but it is frigid out there) and collected some pine cones from the bottom of our tree. You can also but them at Michaels but they are unfortunately quite expensive there. Mine smelt a little funny so after I rinsed off the once that were covered in snow and brush I gave them a blow dry with some perfume. In the second jar I used Champagne corks. Yes, it turns out that the huge box that I purchased is once again becoming useful. The last jar I filled with old light bulbs colored red and green. These I took off an old string we had hanging around the house. Since everyone is now switching to LED's this bulbs are quite easy to find and thrift stores and can also be bought in a pack of three from dollarama. And of course, in order to finish my little display I simply added a a ribbon to each jar. Some very simple and cheap ways to decorate, that's for sure.


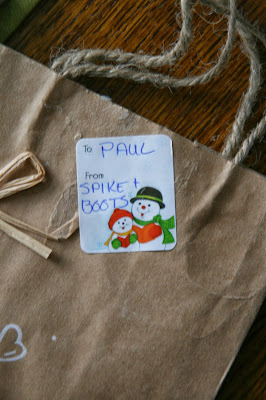
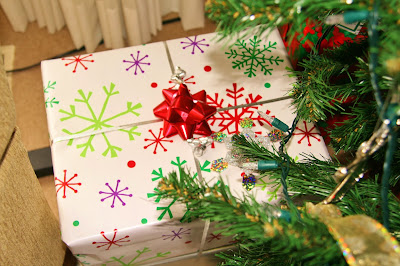
Lastly I have a few random pictures, the tree, some presents and one Christmas memory. For some reason one year my mom decided that out pets (a hamster named spike and a cat named boots) needed to give my Dad a gift. I'm guessing that this is a result of her getting sick of writing "from Mom and Dad" or "from Karen" on the tags, and "Mrs. Claus" just wouldn't do, so of course the pets had to participate. I found a bag with evidence of this awesome idea.

Any ideas on what other crafts I should try to fit in before I head back to school? Leave your ideas in the comments, or check out my pinterest for some inspiration!
Jessica Sipkens
My first project this holiday was a cork letter. I was browsing through a Good will store in Sarnia and I found a bunch of large ziploc bags full of corks. After the lady saw me pick every single one of them up, she offered me a box full instead. I purchased them for five dollars hoping to get a lot of different crafts out of them. According to online tutorials the best way to create these cork letters is to buy or create the shape out of wood and then use this to glue the corks to. Me being the cheapy that I am, I simply cut a piece of cardboard in the shape of a J. This provided me with a stiff surface to glue to without adding to the costs of the project. I then slowly arranged an glued my corks down, finishing off by cutting a bunch in half to fill in some spaces and even out the sides. Here's my results!
The next project I finished was one I have had the supplies for for months. I originally started collecting different size and shaped doily's from garage sales a year or so ago in order that I might make a doily lamp (not sure what I'm talking about? Just look it up on Pinterest and I'm sure you'll understand). Unfortunately I never got around to this and my doily collection continued to grow and grow. As I was contemplating how to complte my first doily craft I cam upon a second, which is the one I choose to finish on Saturday. This doily tanle runner was very easy to complete, it just took a little bit of time. The first step is to layout the runner placing the largest doily's first. Once you have done this and are happy with your arrangement, simply sew the different pieces together. I made sure that mine was sewed in a bunch of different places for each connecting piece just to make sure that they would not break or fall apart once I picked them up. I received my how to from this photography blog Under the Sycamore; check it out for some more thorough instructions. Here's my result!


And f course (as you can see) I also felt a need to add a few Christmas decorations to my table to help model my doily table runner. I found these jars at winners as well as a couple of different thrift stores (I see more and more every time). If you buy them used they tend to be quite cheap.my large did however only cost $10.00 new. To fill the first I simply trudged outside (we may not have much snow but it is frigid out there) and collected some pine cones from the bottom of our tree. You can also but them at Michaels but they are unfortunately quite expensive there. Mine smelt a little funny so after I rinsed off the once that were covered in snow and brush I gave them a blow dry with some perfume. In the second jar I used Champagne corks. Yes, it turns out that the huge box that I purchased is once again becoming useful. The last jar I filled with old light bulbs colored red and green. These I took off an old string we had hanging around the house. Since everyone is now switching to LED's this bulbs are quite easy to find and thrift stores and can also be bought in a pack of three from dollarama. And of course, in order to finish my little display I simply added a a ribbon to each jar. Some very simple and cheap ways to decorate, that's for sure.


Lastly I have a few random pictures, the tree, some presents and one Christmas memory. For some reason one year my mom decided that out pets (a hamster named spike and a cat named boots) needed to give my Dad a gift. I'm guessing that this is a result of her getting sick of writing "from Mom and Dad" or "from Karen" on the tags, and "Mrs. Claus" just wouldn't do, so of course the pets had to participate. I found a bag with evidence of this awesome idea.


Any ideas on what other crafts I should try to fit in before I head back to school? Leave your ideas in the comments, or check out my pinterest for some inspiration!